InPost and WooCommerce: setting up Paczkomat parcel lockers step by step
InPost for WooCommerce, set up step by step: the InPost PL plugin, API details from Manager Paczek, the parcel locker map in the checkout, cash on delivery and common errors.
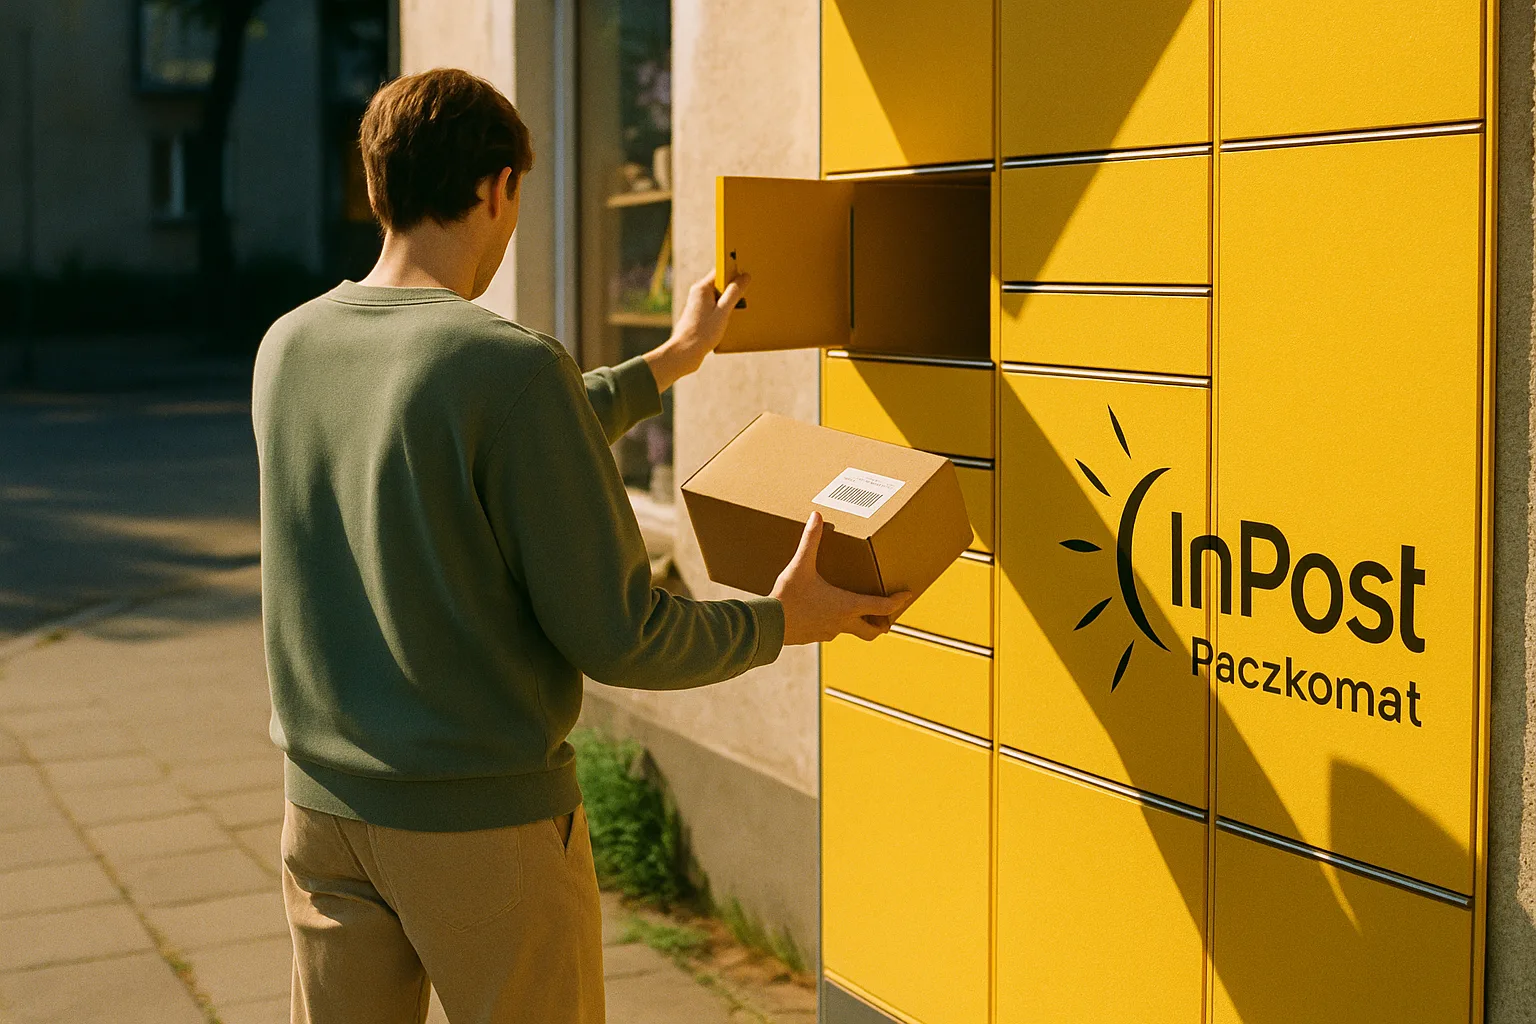
The InPost WooCommerce integration lets you add Paczkomat (InPost parcel locker) delivery and courier services to the checkout, pass the chosen pickup point to the order and send parcels from the shop’s admin panel. You need an InPost business account, API details and the free InPost PL plugin.
Once it is set up correctly, the customer picks a delivery method and a point on the map. You generate the shipment, the tracking number and the label without retyping anything into Manager Paczek (InPost’s parcel management panel).
How the InPost WooCommerce integration works
Image generated by AI
The InPost WooCommerce integration is built on the official InPost PL plugin, which connects the shop to InPost services and moves shipment handling into the WordPress admin. The customer chooses delivery in the checkout, and the seller can create a parcel and download the label from the order.
You will find the plugin in the WordPress plugin directory. Its author is iLabs, InPost’s integration partner. It supports, among others, InPost Paczkomat 24/7, Kurier InPost, Paczka w Weekend and Szybkie Zwroty.
For delivery to a pickup point the customer opens the Geowidget map. It shows Paczkomat machines and PaczkoPunkt locations (staffed InPost pickup points). The customer checks the addresses and picks a convenient location. The point’s details are saved with the order together with the recipient’s details.
After the purchase you do not have to type the address or the Paczkomat number again. In the InPost shipping box you create the shipment, download the label, book a courier pickup or start handling a return.
The plugin also lets you switch off InPost delivery for specific products. That is useful when part of the range does not fit in the lockers or needs a different kind of transport.
Before you start: an InPost account and details from Manager Paczek
Image generated by AI
You start the InPost integration with WooCommerce from an InPost business account and access to Manager Paczek. The integration details are in the Moje konto → API section (My account → API).
Prepare four items: the organisation ID, the API token, the production Geowidget token and the Geowidget token for the test environment. The organisation ID has between 0 and 6 digits. Copy it exactly, including a leading zero if there is one.
The Geowidget token is responsible for showing the map of pickup points in the shop. It has to be generated for the correct site address. When the token is missing or was assigned to a different domain, the customer will not see the Paczkomat map properly.
Production and sandbox work as separate environments. Each has its own organisation ID and tokens. Mixing these details is a common cause of the API connection error.
To switch on the Kurier Standard service you need a signed courier agreement. Without it you can use delivery to a Paczkomat. Whether the other services are available depends on the terms of your account and your agreement.
Check the shop’s server too. The plugin requires WordPress 5.3 or later and PHP 7.4 or newer. A newer, supported PHP version is the more sensible choice for security and compatibility with WooCommerce. If your shop is only just being built, go through my guide on how to start an online store on WordPress first.
Setting up InPost in WooCommerce step by step
Setting up InPost for WooCommerce covers installing the plugin, entering the API details, adding the shipping methods and placing a trial order. Go through the steps in order, because some settings only appear once the connection to InPost works.
Step 1. Install the InPost PL plugin from the WordPress directory
In the WordPress admin go to Plugins and choose the option to add a new one. Type “InPost PL” into the search box. This is the official InPost module in the WordPress directory.
Check the author’s name before installing. It should be iLabs. It is a simple way to avoid confusing the official plugin with others that have similar names.
Click “Install” and activate the plugin once the installation finishes. An InPost item appears in the admin menu, and from there you get to the account, product and shipment settings.
Step 2. Enter the API details in the plugin settings
Open InPost → Ustawienia (Settings), then the Dane logowania (Login details) or Autoryzacja (Authorisation) section. Fill in the organisation ID, the API token and the Geowidget tokens.
In the “Typ API” (API type) field choose the environment that matches the details you used. For testing that is Sandbox. Details taken from a production account need the “Produkcyjne” (Production) setting.
The plugin only verifies the connection when the settings are saved. After every change click the save button and check the message. Pasting a new token into the field does not trigger a new verification on its own. What each field means is described in the official InPost plugin documentation.
If you start with the sandbox, keep the whole set of details from the same environment. When testing is finished, replace the organisation ID, the API token and the Geowidget token with the production ones, then change the API type.
Step 3. Add the InPost delivery methods in the shipping zones
Go to WooCommerce → Settings → Shipping and open the zone that covers Poland. Click “Add shipping method” and choose an InPost service.
Each service is added separately. Depending on how your account is set up you may see, among others:
- InPost Paczkomat 24/7 and its COD variant,
- InPost Kurier Standard and its COD variant,
- Kurier C2C and its COD variant,
- Paczka w Weekend,
- SmartCourier.
For each method set the name the customer sees, the price and the stated delivery time. The name should say clearly where the parcel will go. “Paczkomat InPost 24/7” is easier to read than the internal name of the service.
Paczka w Weekend shows up in a set time window: from Thursday at 20:00 to Friday at 18:00 . Bear that in mind when testing, if the method disappears outside this window.
Step 4. Set the parcel sizes, the label format and the default drop-off Paczkomat
In the plugin settings choose the default Paczkomat parcel size: A, B or C. Match it to the dimensions of the orders you send most often. With a varied range you can change the size later, when creating individual parcels.
Set the label format too. A4 works with an ordinary office printer, and A6 with a thermal printer made for courier labels.
If you drop parcels off at a machine or a pickup point, set the default drop-off Paczkomat. For courier shipping fill in the standard parcel dimensions in millimetres and the weight in kilograms. You can also set the point the courier should collect parcels from.
These values speed up everyday order handling. You still need to check them for parcels that are clearly bigger or heavier than a typical order.
Step 5. Place a test order and check the map in the checkout
Add a product to the basket, enter an address covered by the Polish shipping zone and choose an InPost method. Then open the Geowidget map, pick a pickup point and complete the order.
In the admin check whether the name and address of the chosen point were saved with the order. The InPost shipping box used to create the shipment should be visible too.
The test covers the whole path: basket, checkout, saving the point, creating the parcel, the tracking number and downloading the label. This way you catch a wrong token or zone setting before the first real purchase.
The sandbox has its own access details. After successful tests enter the full production set, switch the API type and save the settings again. Finally, place one more trial order on production, without creating an unnecessary paid shipment.
Sending parcels and printing labels from the orders panel
You create the shipment directly in the WooCommerce order. Once it is saved correctly you get a tracking number and can download the label.
Open the order and find the InPost shipping box. The “Wyślij przesyłkę” (Send shipment) button creates a parcel from the customer’s details, the chosen method and the selected pickup point. Once the system accepts the shipment, use the “Pobierz etykietę” (Download label) option.
You can handle a larger number of orders in bulk. Go to the order list, tick the right items and choose “InPost PL tworzenie przesyłek” (InPost PL create shipments) from the bulk actions. You can set the parcel size during the operation.
Kurier Standard supports multi-parcel shipments, which helps with orders split across several boxes. The parameters of each parcel should match its real dimensions and weight.
After you set up a webhook in Manager Paczek, shipment information can update in the orders view. The webhook passes each new status to the shop, so it is easier to check whether a parcel has been sent, collected and delivered.
The size of a shipment cannot be changed once it has been created. If you pick the wrong size or enter the wrong dimensions, create a new shipment with the correct parameters.
Cash on delivery (COD) in InPost methods
Cash on delivery works in the delivery methods marked with the COD abbreviation. That variant passes the order amount to the shipment and tells the carrier that money has to be collected.
The InPost plugin itself does not add or configure payment methods in the checkout. You set up cash on delivery separately in WooCommerce. Then you link it to the right shipping method, for example InPost Paczkomat 24/7 COD. If you are tidying up online payments at the same time, I have described gateway setup in my guides to the Przelewy24 integration with WooCommerce and the PayU integration.
Check it on a trial order. With cash on delivery the order should show the COD method, and the details of the shipment being created should show the right amount. The ordinary Paczkomat or courier variant does not save the amount to collect, so the carrier will not take money from the customer.
Common InPost integration errors and how to fix them
Most problems with InPost and WooCommerce come from mixing production and test details, a wrong Geowidget token or the shipping method settings. Start by saving the configuration and checking that all the details come from one environment.
The message “Wystąpił błąd podczas łączenia z API” (An error occurred while connecting to the API) usually points to a wrong organisation ID, a wrong token or a mismatched API type. Sandbox details need the Sandbox setting, and production details need Produkcyjne. If the details are correct, check whether the shop’s server can connect to the InPost API.
The status “Oferta wybrana” (Offer selected) means the shipment was not created successfully and did not get a tracking number. The cause may be no funds on the prepaid account, no bank account number in Manager Paczek, no agreement for Kurier Standard or a wrong recipient postcode.
The Geowidget message “Brak dostępu, sprawdź czy token został wygenerowany dla odpowiedniej witryny” (No access, check that the token was generated for the right site) is about the address assigned to the token. Generate a new token for the exact shop address and enter it in the right environment.
When InPost methods do not appear in the checkout, check the products in InPost → Ustawienia produktów (Product settings). Services can be switched on in bulk there. Look at the shipping zones as well.
The problem can be caused by WooCommerce’s standard “Free shipping” method, if it hides the other options once the threshold is reached. Remove it from the zone and set up free shipping above a given amount directly in the InPost methods.
Paczkomat, courier or Paczka w Weekend: what to offer in the checkout
To begin with, pick two or three methods that match the size of your products and the way your customers shop. A long list of delivery options takes up a lot of space, especially in a checkout on a phone.
Paczkomat 24/7 is the natural starting point for shops selling products that fit in the lockers. The customer chooses the pickup place and can collect the parcel without waiting at a given address.
A courier is useful for larger sizes, heavier parcels and purchases delivered straight to a home or a business. Kurier Standard needs a signed agreement, so check that the service is available before adding it to the checkout.
Paczka w Weekend suits products bought to be used quickly, for example gifts, travel accessories or items needed for a specific occasion. Allow for the limited window in which this method works.
A good starting set is Paczkomat 24/7, its COD variant if you offer cash on delivery, and a courier. Add more options once you have seen how customers use delivery.
The price of the services depends on the agreement, the shipment volume and the terms assigned to the account. You can check current rates in Manager Paczek or with your InPost account manager. Delivery costs and payment fees are fixed items in a shop’s budget. You will find the full breakdown in the article how much does an online store cost.
FAQ
Is the InPost plugin for WooCommerce free?
Yes. The InPost PL plugin is available free of charge in the WordPress directory. The fees apply to the parcels you send and come from the price list or your agreement with InPost.
Why is the Paczkomat map not showing in the checkout?
Check the Geowidget token in the plugin settings. The map will not work when the token is missing or was generated for a different site address. Separate tokens also apply to production and sandbox.
Can a customer choose a Paczkomat when paying cash on delivery?
Yes, if you offer the InPost Paczkomat 24/7 COD method in the shipping zone. The COD marking means the amount to collect goes into the shipment details. Set up cash on delivery itself in WooCommerce beforehand.
How do I test the InPost integration before the shop launches?
To test the InPost WooCommerce integration, use the sandbox environment and the organisation ID and tokens assigned to it. In the plugin settings choose the “Sandbox” API type, save the details and go through a full test order. Before you start selling, enter the full set of production details.
Can I send InPost parcels without a courier agreement?
You can send parcels to Paczkomat lockers under the terms of your account. The Kurier Standard service requires a signed courier agreement with InPost. You agree its terms with your account manager.